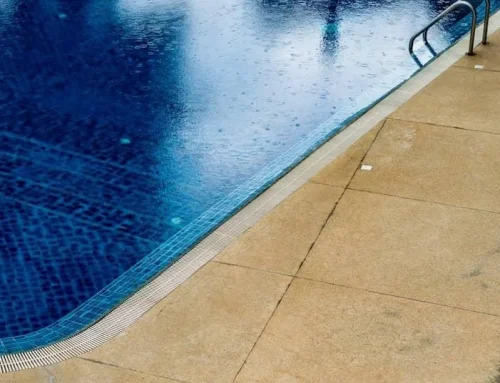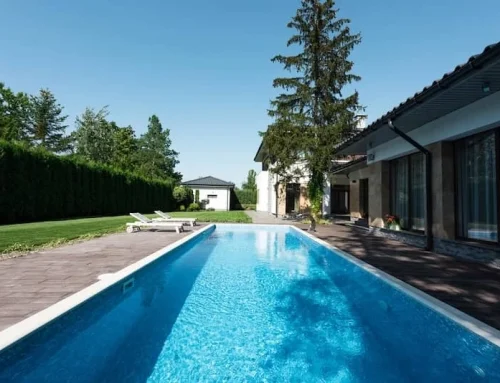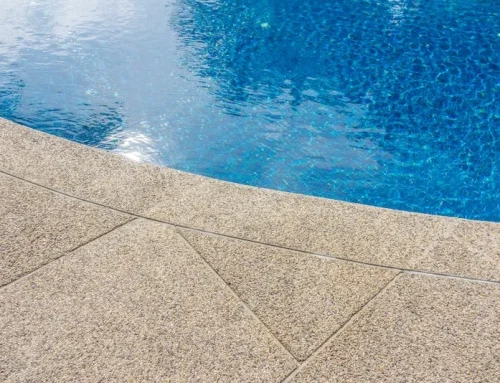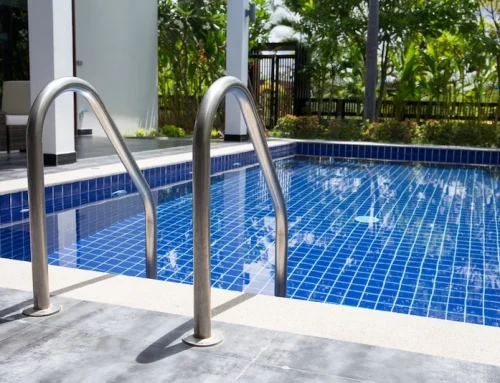
That fresh pool finish looks incredible right now. The surface is clean, the color looks refreshed, and your swimming pool finally feels like the backyard space you wanted again.
But finishing the pool resurfacing process does not mean the new surface is ready for normal use.
The first few weeks are an important part of the startup and curing process, especially with cement-based finishes such as pool plaster. Filling the pool correctly, brushing the surface, maintaining proper water chemistry, and knowing what equipment to keep out can all affect how the finish develops.
If you want to understand what happens before this startup period begins, the pool resurfacing process explains how the existing surface is prepared, and the new finish is installed.
Important: Your pool builder or finish manufacturer should provide the startup procedure for your specific surface material. Follow those instructions first. The recommendations below explain what you can generally expect and why those early steps matter.
The First 24 to 72 Hours After Pool Resurfacing
A newly resurfaced pool may not look completely finished the moment the crew leaves. With a new pool plaster finish, you may notice:
-
Fine plaster dust
-
Slightly cloudy pool water
-
Mild color variations
-
A surface that feels a little gritty
Those changes can be part of the normal curing process. What you do next matters.
These early changes are part of what makes proper pool resurfacing more than just installing a new finish. The startup period also plays a role in how that surface develops after installation.
1. Begin Filling the Pool as Directed
If your installer tells you to begin filling the pool immediately, use clean water and follow the filling instructions without interruption.
Do not shut off the garden hose halfway through just because the pool will finish filling overnight. Stopping the water flow before the recommended level is reached can leave a visible waterline or streak across the new surface. You also do not want fresh cement-based material drying out during a stage when it needs water to cure properly.
Filling Checklist
-
Hose Placement & Rate: Follow the installer’s instructions for hose placement and fill rate.
-
Surface Protection: Do not walk on the new pool surface unnecessarily.
-
Debris Control: Keep pets, leaves, dirt, and other debris out.
-
Chemical Hold: Do not add chemicals while the water is still filling unless your startup instructions specifically require it.
-
Level Monitoring: Watch the water level so the pool does not overflow.
Florida Weather Warning: Florida weather can complicate fill day. A sudden downpour can add water quickly, while hot weather can increase evaporation. Keep an eye on the pool rather than assuming the fill will take care of itself.
2. Start the Filtration System at the Proper Time
Once the pool reaches the required operating level, follow your startup instructions for turning on the filtration system.
-
Continuous Filtration: For many plaster startups, continuous filtration during the early period helps keep water moving and capture plaster dust.
-
Filter Maintenance: Your filter may need more frequent cleaning or backwashing while the surface is releasing fine material.
-
Surface Material Variations: Do not assume every resurfaced pool follows the same startup procedure. A concrete pool with fresh plaster does not necessarily have the same requirements as fiberglass pool resurfacing or another specialty finish.
Your First 30 Days: Timeline Overview
Think of the first month as a transition rather than a single deadline. A cement-based pool finish continues changing after the pool is filled. Brushing, filtration, water chemistry, and equipment restrictions may change as you move from the first few days into the following weeks.
|
Stage |
Key Focus Areas |
Main Action Items |
|
Days 1 to 3 |
Dust Removal & Water Testing |
Pay close attention to water & surface; manage plaster dust via filtration/brushing; test pH, alkalinity, and calcium hardness. |
|
Days 4 to 7 |
Targeted Brushing & Caution |
Continue regular brushing focus on steps, corners, & tiles; resist using pool heaters, cleaners, or automatic equipment. |
|
Weeks 2 to 4 |
Ongoing Curing & Transition |
Continue prescribed brushing & testing; prepare for the transition toward normal long-term pool maintenance around day 30. |
Days 1 to 3
This is when you should pay particularly close attention to the pool water and new surface.
-
Plaster dust may appear as the surface cures. Your filtration system and brushing routine help remove that material before it remains on the pool floor or walls.
-
Water chemistry also needs attention. A new plaster surface interacts with the pool water as it cures, so pH, total alkalinity, and calcium hardness can change.
-
Follow the startup chemistry plan supplied for your finish rather than adding chemicals based on guesswork.
Days 4 to 7
By the end of the first week, the pool may already look dramatically clearer. That does not mean startup care is finished.
-
Continue brushing according to the schedule recommended for your pool finish and keep testing the water.
-
Pay attention to steps, corners, the waterline tile, and other areas where plaster dust can settle.
-
This is also when it becomes tempting to bring cleaners, heaters, or other equipment back into normal use. Resist that temptation until the startup procedure says they are safe.
Weeks 2 to 4
During the next few weeks, you may see less plaster dust and the pool water may look completely normal. Your pool finish, however, is still progressing through its early curing period.
-
Continue the prescribed brushing schedule and water testing.
-
Avoid introducing equipment or chemicals earlier than recommended simply because the entire pool surface looks finished.
-
Around the end of the startup period, you can begin transitioning toward proper pool maintenance for the long term.
How Often Should You Brush a Newly Resurfaced Pool?
For a new plaster finish, brushing is more than cosmetic cleaning. As pool plaster cures, fine material can be released onto the surface. Regular brushing helps move loose plaster dust into the water so the filtration system can capture it instead of allowing it to remain on the pool floor or walls.
Why Brushing Matters
Plaster dust remaining on the surface can contribute to a rough or uneven feel. Consistent brushing also helps you keep a close eye on how the entire surface is developing.
Your installer should tell you how frequently to brush and which brush is appropriate for your finish. A common startup schedule involves frequent brushing during the first week and continued brushing during the following weeks. Some startup specifications may call for brushing twice daily for longer. Follow the instructions for your particular finish rather than treating one brushing schedule as universal.
Key Areas to Focus On:
-
Steps and benches
-
Corners
-
Pool floor
-
Walls
-
Areas around fittings
-
Waterline tile
Goal: You want to remove plaster dust without unnecessarily scratching or stressing the new surface.
Water Chemistry During the First 30 Days
Chemical balance is one of the most important parts of the startup period. A newly plastered pool finish can affect the chemistry of the surrounding pool water as it cures. At the same time, poorly balanced water can affect the new plaster surface. That relationship makes the first few weeks different from routine pool maintenance.
Monitor the Water Instead of Guessing
Your startup instructions may require frequent testing of:
-
pH
-
Total alkalinity
-
Calcium hardness
-
Sanitizer levels
The exact targets and timing of chemical additions should come from the startup procedure for the installed finish and the conditions of your fill water. Testing the fill water can also be useful before startup because calcium hardness, alkalinity, metals, and other characteristics vary between water sources.
Caution: This is one area where generic advice can create problems. For example, adding chlorine, muriatic acid, calcium, or a sequestering agent at the wrong time or concentration can work against the startup process. If acid is part of your prescribed startup, follow the handling and dilution instructions carefully. Never assume that pouring concentrated muriatic acid directly onto the new pool plaster is an acceptable shortcut.
Why Proper Water Chemistry Matters
-
Water that is too aggressive can affect a cement-based surface.
-
Water that encourages scale can leave deposits and contribute to a rough texture.
You are trying to maintain water balance while the new surface is changing. If you cannot keep the chemistry within the ranges specified for your pool finish, contact your pool professional rather than repeatedly adding chemicals without understanding why the readings are moving.
What NOT to Do After Pool Resurfacing
What you avoid matters just as much as what you do. Many early problems happen because pool owners see clear water and assume the resurfaced pool has returned to normal.
-
Don’t Stop Filling the Pool Midway: Once filling begins, follow your contractor’s instructions and allow the water to reach the required level without unnecessary interruption. Stopping partway through can leave a fill line or discoloration on some finishes. It can also expose portions of a cement-based new surface longer than intended.
-
Don’t Add Salt Too Early: If you have a saltwater pool, don’t automatically restart the salt system as soon as the pool is full. Fresh cement-based finishes commonly require a waiting period before salt is added. Some startup procedures specify around 28 days, but the requirement can vary by finish. Follow the instructions from the pool builder or finish manufacturer before adding salt.
-
Don’t Use Automatic or Robotic Cleaners Too Soon: Your robotic pool vacuum may normally make pool maintenance easier, but the startup period is not the time to rush it back into service. Wheels, tracks, suction, and repeated movement across a fresh surface can leave marks while certain finishes are still developing. Manual brushing is generally the primary cleaning method during the early plaster startup period. Wait until your specific startup instructions allow automatic cleaning equipment.
-
Don’t Turn the Pool Heater On Prematurely: A pool heater can also affect water conditions during startup. Do not turn it back on simply because you want the pool’s temperature ready for swimming. Follow the resurfacer’s instructions about when heating can safely resume.
-
Don’t Make Large Chemical Adjustments Without Testing: More chemical is not necessarily better. If a test shows that something is out of range, determine what needs adjustment and follow the startup plan. Large, poorly calculated chemical additions can create a second problem while you are trying to fix the first.
What’s Normal vs. Warning Signs
A newly resurfaced pool can look a little different while the finish is stabilizing. Not every unusual appearance means the resurfacing failed.
Changes That Can Be Normal
Depending on the surface material, you may notice:
-
Light cloudiness caused by plaster dust
-
Fine residue on the pool floor
-
Mild color variation or mottling
-
A slightly gritty feel early in startup
-
Water chemistry that requires frequent adjustment
These conditions should generally improve as you follow the proper startup procedure.
Signs Worth Calling Your Pool Professional About
Some conditions deserve a closer look, especially if they are worsening rather than improving. Contact your installer immediately if you notice:
-
Peeling or flaking
-
Sharp or significant cracking
-
Increasingly rough areas
-
Severe or spreading discoloration
-
Persistent stains
-
Unexpected water loss
-
Chemistry that repeatedly moves outside the recommended range despite proper adjustments
Do not assume every stain or rough spot will disappear after curing. Early evaluation gives your pool builder a chance to determine whether you are seeing a normal part of the curing process, a water balance problem, or an issue with the surface itself.
When Can You Swim After Pool Resurfacing?
Clear pool water does not automatically mean the swimming pool is ready. When you can swim depends on the finish, startup procedure, water chemistry, and your installer’s instructions.
Before using a newly resurfaced pool, you generally want:
-
The water to be clear
-
Sanitation established as required
-
Water chemistry within the appropriate range for swimming and the new finish
Your resurfacer should provide the final timeline. Even after swimming is allowed, treat the pool surface carefully during the remainder of the curing period. Avoid activities or objects that could scrape, gouge, or stain a new plaster surface.
Does Aftercare Change With Different Pool Finishes?
Yes, and this distinction is important. Much of the startup advice associated with pool resurfacing is written specifically for cement-based finishes. It should not automatically be applied to every swimming pool.
-
Pool Plaster and Aggregate Finishes: Concrete pools finished with plaster or cement-based aggregate surfaces usually require the most attention to brushing, curing, and water balance during startup. Finishes containing aggregate, glass beads, or similar materials may have their own startup specifications even though the underlying curing principles are related.
-
Fiberglass Pools: Fiberglass pools have a different surface system and do not go through the same plaster hydration process. If you’ve had fiberglass pool resurfacing completed, follow the instructions for that coating or surface material rather than borrowing a pool plaster startup schedule.
-
Tile and Other Specialty Surfaces: Glass tile and other specialty finishes also have their own installation and startup requirements.
The Takeaway: Care for the surface you actually had installed. A generic internet checklist should never override the manufacturer’s or installer’s specifications.
How Florida Weather Affects a Newly Resurfaced Pool
Florida adds another variable to the first few weeks. Hot weather can increase evaporation, while sudden rain can dilute pool water or cause the pool to overflow. Storm debris can also end up in the water before the new surface has finished its early curing period.
You do not need to panic every time the weather changes, but you do need to pay attention:
-
After heavy rain: Check the water level and chemistry rather than assuming everything remained balanced.
-
During strong evaporation: Avoid allowing the water level to drop below the recommended operating range.
Keeping the water moving, monitoring the filtration system, and testing rather than guessing can help you respond to Florida conditions without overcorrecting.
What Changes After the First 30 Days?
Once the prescribed startup period is complete, your pool begins moving toward its normal maintenance routine. This is the point when restrictions on equipment, salt systems, heaters, and cleaning methods may be lifted according to your particular finish.
Your priorities also shift: Instead of managing a new surface through its initial curing period, you are now maintaining water balance, sanitation, filtration, cleanliness, and the condition of the pool finish over the long term. Your choice of pool surface can also affect ongoing maintenance costs as the finish ages.
That does not mean you can stop paying attention to the surface. Periodic cleaning, balanced pool water, and early attention to stains or rough areas still help protect your investment. But the intense startup period is temporary.
Protect Your New Pool Finish From Day One
A resurfaced pool is a major investment, and the job is not truly finished when the crew packs up. The first few weeks are when your new pool finish needs consistent care:
-
Fill the pool correctly
-
Brush as directed
-
Monitor the filtration system
-
Maintain proper water chemistry
-
Keep equipment out until it is safe to return it to service
Most importantly, follow the startup procedure provided for your specific pool surface. Pool plaster, aggregate finishes, fiberglass surfaces, and glass tile do not all respond the same way.
If something looks wrong during startup, don’t try to solve every problem by adding another chemical or brushing harder. Have the surface evaluated while the issue is still new.
Creative Resurfacing Solutions can help you understand what you’re seeing after pool resurfacing and determine whether your pool is progressing normally or needs professional attention. Proper aftercare during the first month gives your new surface the best opportunity to stay smooth, attractive, and durable for years to come.